
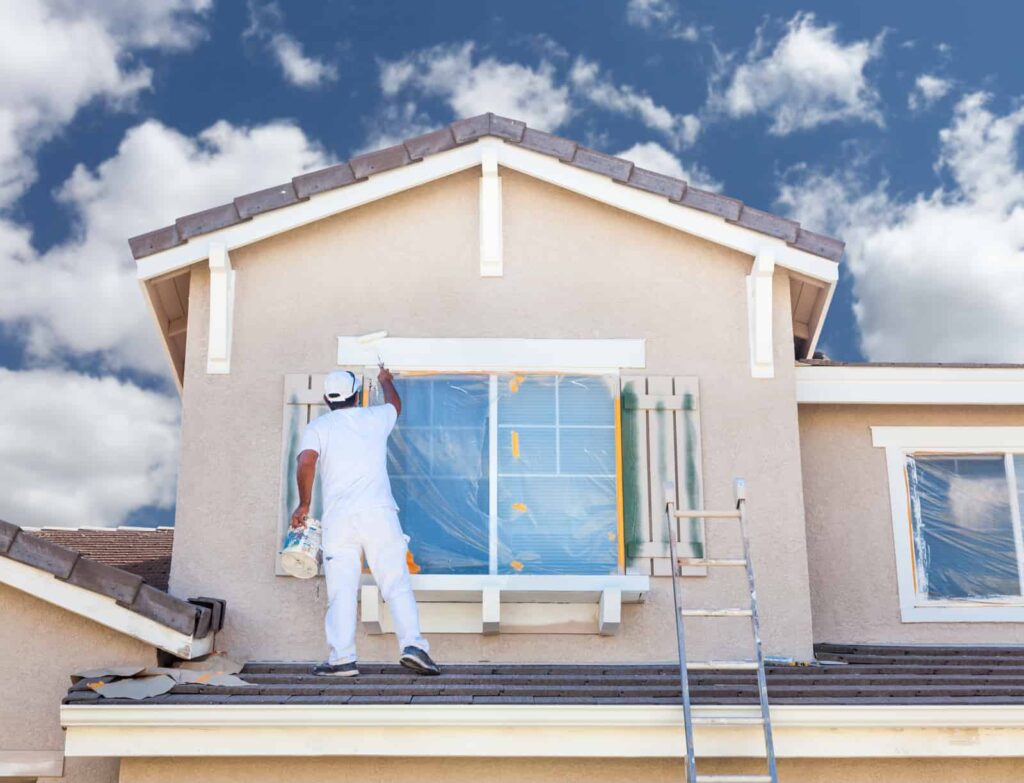
Most residential paint jobs go wrong before a single can is opened. The homeowner selects colors, phones around for a couple of quotes, and figures the rest will manage itself. It does not. A standard house paint job is like a project plan. With a few rooms involved instead of a Gantt chart. Approach it with the organization and you get a crisp finish, a competitive price, and your sanity undamaged. Approach it with indifference and you get arguments, repeat work, and paint that begins flaking two years down the track.
Define Your Scope Of Work Before You Contact Anyone
The first thing you need isn’t a quote. It’s a scope of work – a detailed list of every surface to be painted. While you can overlook including ceilings, baseboards, crown molding, window trims, interior doors, door frames, and built-in cabinetry, to a professional contractor each of those is a separate line item, and this is how you receive change orders in the middle of a project.
Read More: Clean, Efficient, Ready. The Practical Side of Smarter Business Spaces
Go room by room with a notepad. And write “walls” are not a sufficient description. Are you painting drywall, plaster, previously painted timber? What is the current condition? Is there flaking paint or watermarks? Are there unpainted raw surfaces that need sealing? This matters for product selection and labor time.
Send that scope out to three different contractors, then compare quotes. Without it, one company may have estimated walls only and the other all trim work. The results won’t be comparable because the contractors won’t be doing the same job.
Fix The Building Before You Paint It
Fresh paint doesn’t cover up underlying issues. It merely masks them for a while, only for them to resurface in worse conditions.
Before you even think about applying a primer, go over every room, and seek out places where moisture can penetrate, drywall feels soft or spongy, wood surrounding window frames rots, plaster shows hairline cracks, or old paint is bubbling and peeling. None of these problems should be addressed with a paintbrush.
Read More: A Homeowner’s Guide to Noise Reduction and Placement for Outdoor Equipment
You have to solve these structural problems by either patching, replacing, or giving these troubled spots enough time to dry thoroughly before engaging in the painting process.
The prep stage determines the life of a project. About 70% to 80% of the time involved in a good paint job is spent preparing the surface – and experienced painters perth will tell you the same thing. That’s scraping off any loose material, sanding any glossy areas so the fresh paint could better adhere, washing all walls with a TSP mixture to eliminate grease and contaminants, and filling holes. The most common reason paint fails is because folks skimp on this step. A well-primed, well-painted surface will hold up far longer than the same job done without all the effort.
Sequence The Rooms Before Work Starts
Painting an entire home is a massive job, but it doesn’t mean that every room in the house gets painted at the same time. You have to live in the place most of the days while the work is underway, so that makes strategizing the order important – both for your family and for the painters. The standard sequence of work is usually ceilings, then walls, then trim and doors.
For multiple room jobs, you want to work from the rooms you use the least to the rooms you use most. Spare bedrooms and dining rooms can be knocked out in week one while your family continues to use the living areas normally. Save the kitchen, bathrooms, and master bedroom for week two when most of the dust and disturbance is behind you.
Discussing room order with your contractor before the first day is a good move. A solid crew will have an answer for it; a disorganized crew won’t.
Test Colors On-Site – Not On A Screen
Using digital color tools, phone apps, and paint brand websites can be helpful to make a selection however, they should not be relied on for a final decision. Color on a screen is not paint on a wall.
The only way to pick a color with any confidence is to apply a big two-coat swatch, at least 30x30cm, right onto the wall. Do it on multiple walls in the same room and observe it across the full day. A color that looks warm and neutral at noon can read distinctly yellow or green by late afternoon depending on which direction the room faces. North-facing rooms receive cooler, consistent light. South-facing rooms get warmer, more intense sun at certain hours.
If you’re off by just a few shades because you relied on the screen, you might find yourself wanting to repaint the room to fix it. Sounds extreme but it isn’t if you spent the last two months staring across the room at a color that subtly but constantly wrong-foots you.
Know What You’re Asking For In Terms Of Product Selection
The type of paint you use can certainly affect how long it will last in certain conditions. For high-traffic areas like hallways, entryways, and family rooms, you want a durable low-sheen acrylic that can be wiped down without the surface burnishing or leaving marks. Bathrooms and laundry areas – you need mold-resistant formulations in a semi-gloss finish that can handle cleaning and won’t absorb condensation the way matte finishes do. Ceilings are typically flat/matte since it hides imperfections and normalizes light spread.
Sheen level affects more than appearance. Higher sheen means more durability and washability, but it also highlights every surface imperfection underneath. A high-gloss finish on a wall with minor dents and sanding marks will make those defects more visible, not less. Match the finish to the room’s actual use and the condition of the surface underneath.
Pay attention to VOC content as well, particularly if you have children, pets, or anyone with respiratory sensitivities. Low-VOC and zero-VOC formulations have improved significantly and perform comparably to standard products in most applications. The off-gassing from high-VOC products in a closed interior space can linger for days.
Set Logistics Rules Before Day One
This may sound like too much but it won’t after you’ve had workers in your home for a week and you haven’t set basic boundaries.
Before they arrive, be clear about: which entrance workers should use, where they should stash their stuff, which bathroom the crew should use, daily start and finish times, and daily cleanup expectations. Painter’s tape and drop sheets should be in place before anything is cracked open – canvas drop sheets for paintwork, as plastic is slick and doesn’t absorb the way canvas does.
Agree on a checkpoint – a daily text at the end of each day is good to exchange what got done, what’s planned for tomorrow, and any questions or problems that require your attention. You don’t need a meeting, but you do need an update.
If you have pets, work out a containment strategy that keeps them safe from fumes and open paint cans and also keeps the crew on the job.
Inspect At Milestones, Not Just At The End
Most homeowners take a walkthrough on the last coat. It is harder to catch and fix defects at that point – you are looking at a finished surface, and fixing an issue involves repainting on something that’s already done.
The more efficient strategy is to incorporate inspection checkpoints into the project. The first critical checkpoint is after the prep and prime are finished, and before the first topcoat is applied. At this stage, you can see the full condition of every surface and identify anything that needs additional work – a patch that wasn’t fully feathered, a stain that’s bleeding through the prime, a section of wall that needs a second prime coat. Addressing those things now takes minutes. Addressing them after two finish coats takes hours.
The second checkpoint is after the first topcoat and before the final. Look for holidays, texture inconsistencies, and any primer showing.
Don’t be hesitant to flag things. A professional contractor expects inspection checkpoints and should welcome them. If they’re resistant to doing mid-project walkthroughs, that’s a problem.
Plan For After The Paint Dries
Touching dry paint and completely-cured paint is not the same thing. Many interior latex paints feel dry in about one to two hours but it takes two to four weeks to fully cure, which is when the paint is hardened and becomes resistant to abrasions and cleaning.
During that timeframe, do not wash your walls roughly, do not let your furniture rest directly against painted parts, and avoid placing something against newly painted trim. If you make contact too soon, it can leave permanent marks in the film, even if it appears to be completely dry.
Make sure you have properly labeled paint cans for each room before the crew leaves and keep a record of the exact color formula and sheen level. Paint formulas can be reproduced from the color codes, but only if you have them. Paint cans should be stored upside down in a climate-controlled environment to keep the seal intact. You will need that paint for touch-ups in twelve months, and matching a color without the formula is a guessing exercise you don’t want to be doing.
A home painting project does not need to be complicated – only disciplined. You should determine what you want, properly prepare the surfaces, choose the right products, and inspect the work at an appropriate time for relatively easy changes. If too many shortcuts are taken, a finish that looks good in your first season may lead to difficulties the following year.




More Stories
Paintings to Bring Serenity to your home